LeGrimpeur (Talk | contribs) (→Map) |
LeGrimpeur (Talk | contribs) (→Map) |
||
| Line 133: | Line 133: | ||
==Treasure Fiend's Den== | ==Treasure Fiend's Den== | ||
===Map=== | ===Map=== | ||
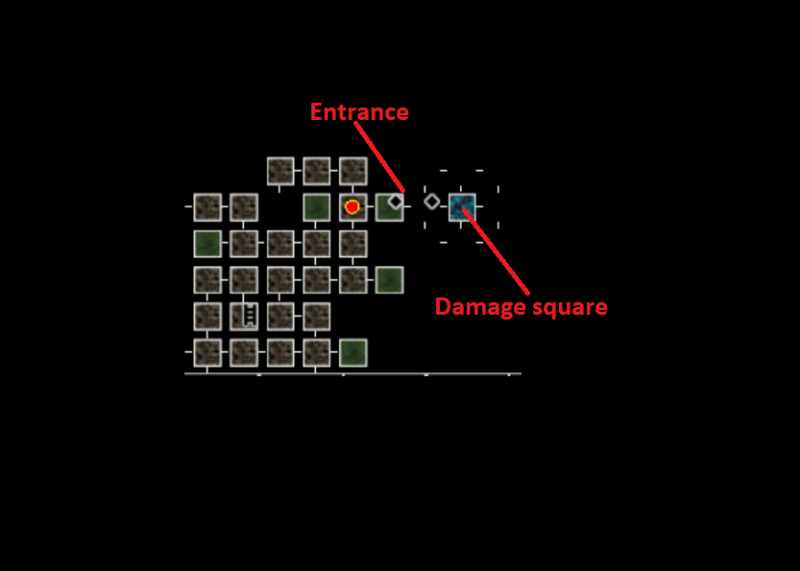
| − | [[file:TF_location.png| | + | [[file:TF_location.png|800px]] |
===General Info=== | ===General Info=== | ||
Revision as of 06:02, 6 March 2023
Contents
General Info
- Instances or "instanced dungeons" are special areas of the map that exist uniquely for each party. (i.e. if two separate parties enter the same instance, they will not see each other).
- Each instance can only be entered once per day per account.
- This means that if you die in an instance, you will not be able to renter to gain dropped items or finish quests / bosses.
- Instances are generally made groups of 2-4, but some of the lower level ones can be soloed by more powerful characters.
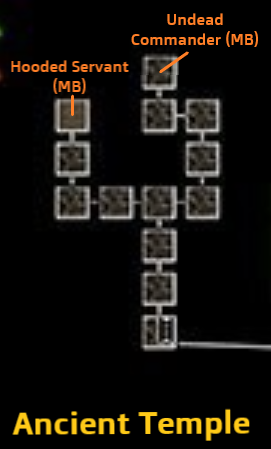
Ancient Temple
Map
General Info
Recommended Level: 12-15*
Recommended party size: 1-2
- This instance difficulty and rewards now scale with level. (Does not drop lvl 25 gear)
Location
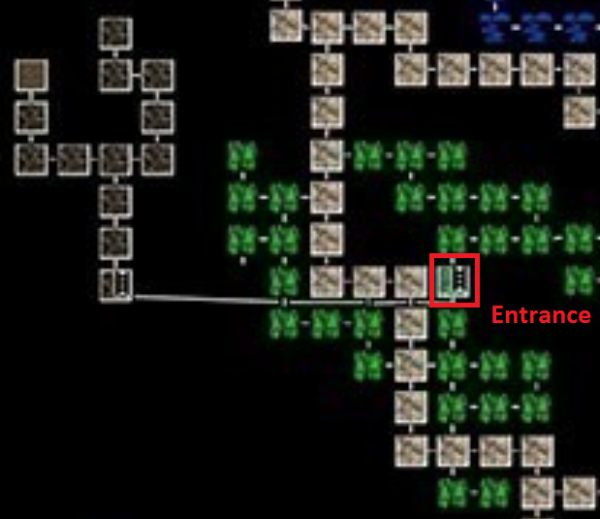
Canopia Forest, just outside Seamoor
Mechanics
- This is the first instance available to players, and is quite simple.
- Be aware that there are several KTP (kill to progress rooms).
- To exit the dungeon you will have to kill the guardian that is in the entrance room when you first arrive, so make sure you have enough potions.
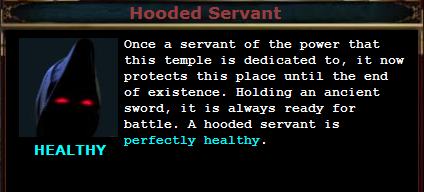
- start by heading North West to the Hooded Servant. Kill him and pick up his key. You will need this to enter the boss room.
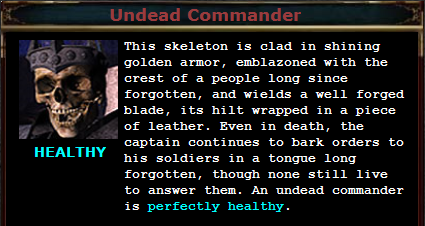
- Make your way back to the main hall and fight your way to the Eastern passage up towards the Undead Commander.
- There is nothing special about this boss, nuke him down and make sure you have enough healing.
Bosses
Tips
- Nothing too complicated about this one.
- There is an NPC directly outside of the entrance that will give you a quest for this Instance.
- This Instance now scales to whatever level you are when you enter, unlike others that have a level cap.
Drop Table
| Name | RARITY | LVL | Type | AD/Armor | Sell |
|---|---|---|---|---|---|
| Commander's Blade | Uncommon | 8 | Sword | 13.5 | 100 |
| Moldy Leather Shield | Uncommon | 15 | Shield | 30 | 750 |
Ringleaders Lair
Map
General Info
Recommended Level: 18-20
Recommended party size: 1-3
- Requires a Golden Key to enter. It is consumed on use.
- These can be found by killing enemies in Linwood, or the Raider's encampment
- This key can also be used to enter the Raider's Den instance.
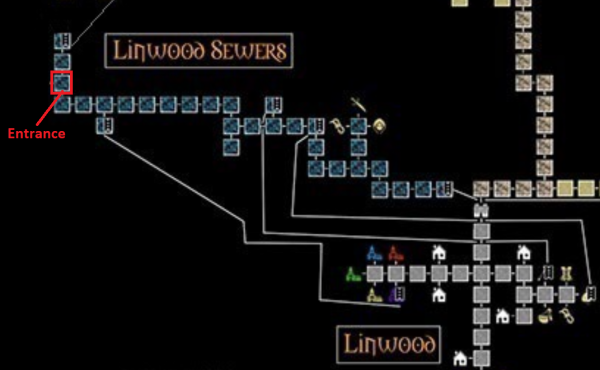
Location
Mechanics
- This instance is quite short, but has mechanics that are far more complicated than the Ancient Temple.
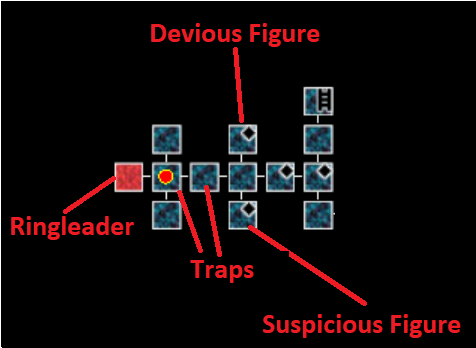
- The first step is to gather the "Devious note" and the "suspicious note"
- These can be found by killing the "Devious Figure" and the "Suspicious Figure" in the rooms marked on the map.
- Once you have the notes, you can use them to reveal a special phrase each
- These phrases need to be messaged to the ringleader when you are standing in the room marked on the map with the red dot.
- To do this type '/d ringleader <special phrase>'
- Depending on which special phrase you message to the ringleader, you will be teleported into either the North or the South room.
- Once in the room you must "/push button" to release the lock on the door in the center room.
- When both buttons have been pushed, the door heading East unlocks and you can fight the Ringleader.
- These buttons need to be pressed nearly simultaneously for the door to unlock. If you have multiple party members, coordinate to have one press the top and one the bottom button at the same time. (See tips section for tips on how to do this solo)
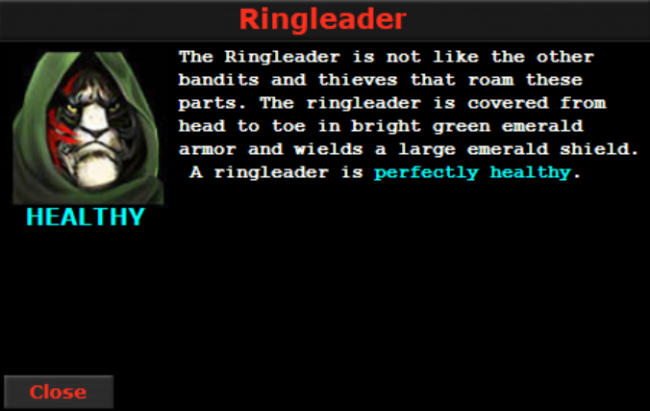
- There is nothing particularly special about this boss, other than that he will periodically spawn Shadow Assassins, and can backstab for over 500 damage, so make sure you have plenty of healing potions.
Bosses
Tips
- Due to the traps in this instance, it is critical you bring either a Thief, or preferably a Sorcerer than can cast Hover.
- The Trap in the West most room is a paralyzing trap, making you extremely vulnerable to the Shadow Assassins, and making it impossible to move between rooms fast enough to push the buttons.
- The East most trap is a poison gas trap that deals heavy damage.
- If you are running this Instance solo, it is recommended to macro the whisper and push commands to execute them fast enough. For example your macros would be:
- F1: /d ringleader Guards stashed the body
- F2: /push button
- F3: /d ringleader Postmaster led the revolt
- The Ithon Emerald that drops from the Ringleader can be turned in for a quest to the Cloaked figure in the Linwood Sewers that grants 875k Exp and 4600 gold.
Drop Table
| Name | RARITY | LVL | Type | AD/Armor | Sell |
|---|---|---|---|---|---|
| Ringleaders Mitts | Rare | 20 | Gloves | 5 | 1000 |
| Emerald Blocker | Rare | 20 | Shield | 36 | 4000 |
| Emerald Knife | Rare | 20 | Dagger | 16 | 4000 |
| Emerald Mail | Rare | 20 | Medium Armour | 67 | 4000 |
| Emerald Helmet | Rare | 20 | Helmet | 13 | 4000 |
| Glowing Emerald Knife | Epic | 20 | Dagger | 16.5 | 7500 |
| Worn Pouch | Uncommon | N/A | N/A | N/A | N/A |
| Ithon Emerald | Uncommon | N/A | N/A | N/A | 1000 |
