Contents
- 1 General Info
- 2 Ancient Temple
- 3 Raiders Den
- 4 Ringleaders Lair
- 5 Hidden Vault
- 6 Heart of the Fen
- 7 Cathedral of the Moon
- 8 Blackspawn Woods
- 9 Treasure Fiend's Den
- 10 Captain Butcher
- 11 Necromancer Hideout
- 12 Refinery 2nd Floor
- 13 Flame Salamander
- 14 Mana Caves
- 15 Ruins of Seta
- 16 Lost Temple of Tegus
General Info
- Instances or "instanced dungeons" are special areas of the map that exist uniquely for each party. (i.e. if two separate parties enter the same instance, they will not see each other).
- Each instance can only be entered once per day per account.
- This means that if you die in an instance, you will not be able to renter to gain dropped items or finish quests / bosses.
- Instances are generally made groups of 2-4, but some of the lower level ones can be soloed by more powerful characters.
Ancient Temple
Recommended Level: 12-15*
Recommended party size: 1-2
- This instance difficulty and rewards now scale with level. (Does not drop lvl 25 gear)
Raiders Den
Recommended Level: 18-20
Recommended party size: 1-3
Ringleaders Lair
Recommended Level: 18-20
Recommended party size: 1-3
Hidden Vault
Coming soon...
Recommended Level: 25
See video walkthrough [here].
Heart of the Fen
Coming soon...
Cathedral of the Moon
Recommended Level: 25
Recommended party size: ???
More to come.
Blackspawn Woods
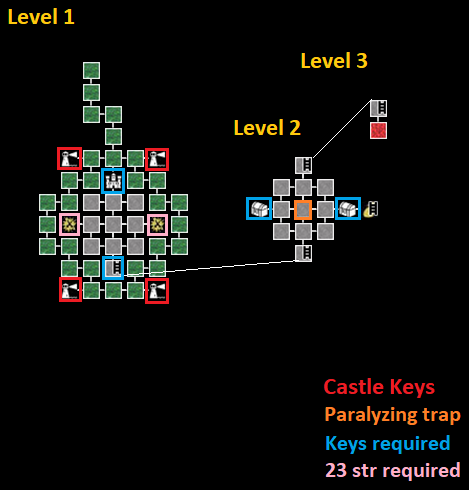
Map
General Info
Recommended Level: 25
Recommended party size: 3-4
Recommended Divinity: Fire
- Blackspawn woods (also known as BSE or BlackSpawn-Eagle) is a fairly long and complicated end game instance.
- The goal is to take out the the Blackspawn that have been terrorizing the surrounding area.
Location
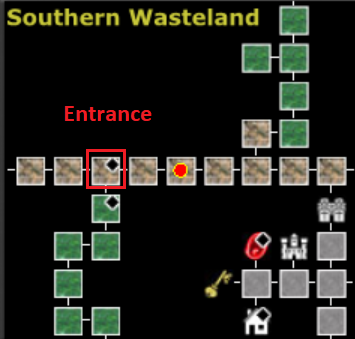
- Blackspawn Woods is located just west of Wiken.
Mechanics
- Note: There are many Kill to Progress (KTP) squares in this dungeon.
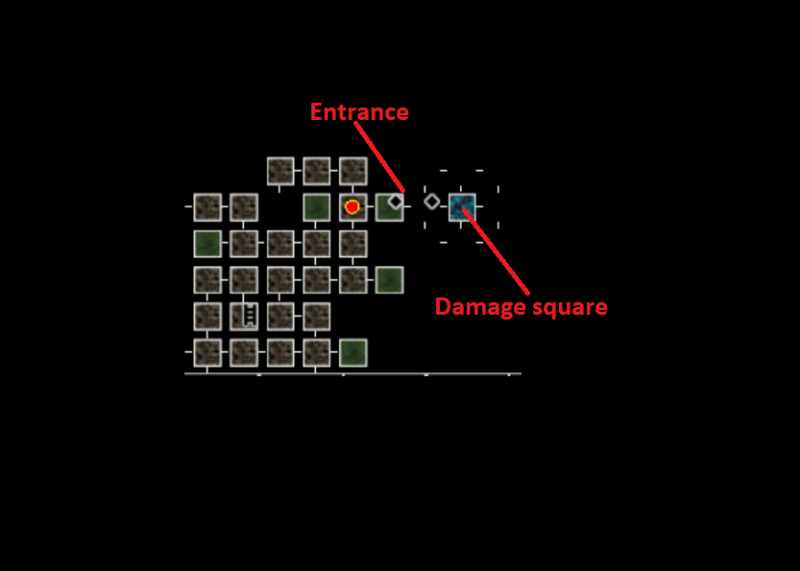
- The first step in this instance is to collect key (marked by red squares on the map) to be able to enter the castle.
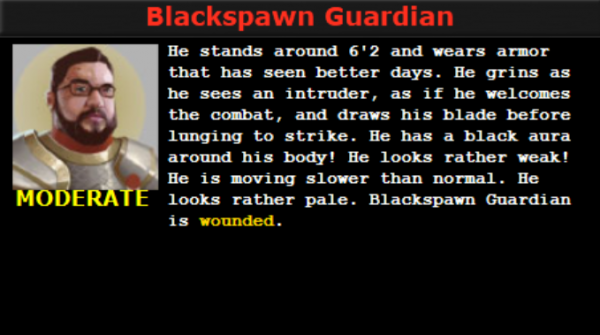
- Each square contains a Blackspawn Guardian that must be defeated to obtain the key.
- These mini bosses will occasionally spawn spectral shield that need to be destroyed before the Guardian can be damaged.
- Each player will need their own key.
- This effectively limits the number of players that can complete this instance to 4.
- Once each player has a key, they will need to each manually enter the castle at the center of level 1.
- The second phase of this instance is to defeat the two mini bosses on the inside of the castle on floor 1, and obtain their keys to progress to floor 2.
- They are located in the squares outlined in pink on the map.
- Note: The leader of the party will need to have at least a strength of 23 to enter these rooms.
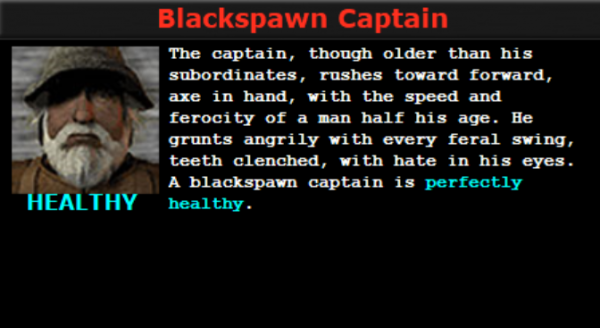
- The Blackspawn Captain is a Berzerker and does heavy damage.
- He can stun with his attacks.
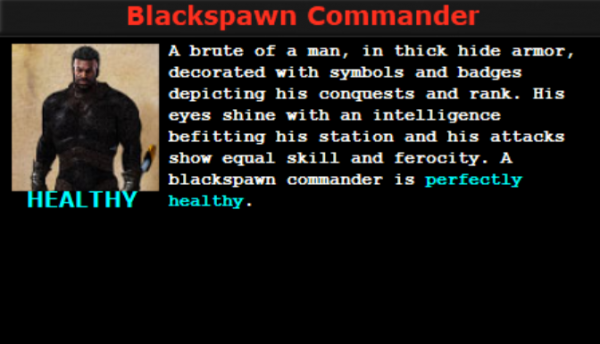
- The Blackspawn Commander is a monk, and will summon additional enemies.
- leave one alive so he doesn't spawn additional mobs
- They are located in the squares outlined in pink on the map.
- Once you have the two keys, progress up to the second floor. Your goal for now is to get directly to the third floor to face Eagle and Uganth.
- Most of these spaces are KTP.
- The quickest way is directly through the middle, but be aware that the middle square is a paralyzing trap.
- Go up to the third floor and start the Eagle / Uganth battle.
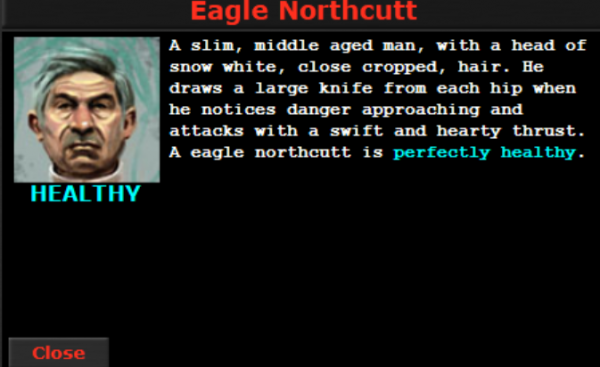
- Eagle can backstab for high damage. Be careful.
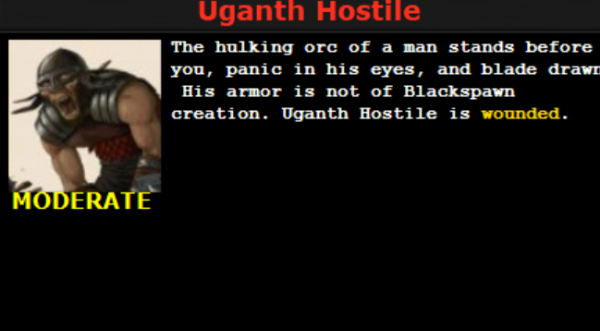
- Uganth can cast nearly any status effect on the party (silence, stun, blind, AOE, damage), so be prepared for your healer to be combat ineffective for several rounds.
- Focus on Eagle first until he runs away, then focus down Uganth.
- Uganth drops the first treasure key that opens the west most treasure room on the second floor.
- Eagle runs to a random square on the second floor. You will need to move around and find him, fighting through the KTP rooms in the process. kill him and obtain the second treasure key.
- Once all bosses are dead, go to the west treasure room first and attack the treasure chests.
- For the right room, there should be an enemy that drops a document with a passphrase.
- you will need to message this passphrase backwards to the mirror in the eastern treasure room to get to the final treasure room.
- the command is: /d mirror esimed ym litnu reverof nwapskcalB
- you will need to message this passphrase backwards to the mirror in the eastern treasure room to get to the final treasure room.
Bosses
Tips
- Enchanters are very useful in this instance as they buff a party members strength to above 23 to allow them to enter the mini boss rooms, and they can caste Hover to allow movement through the paralyzing trap.
- Minstrels can also use their song to buff strength for players to open the doors.
- If you have neither one of these, a Half Orc with max strength can open these doors.
Drop Table
| Name | RARITY | LVL | Type | AD/Armor | Sell |
|---|---|---|---|---|---|
| Captain's Gloves | Uncommon | 25 | Gloves | 7 | 2500 |
| Commander's Boots | Uncommon | 25 | Boots | 7 | 2500 |
| Savage Truncheon | Uncommon | 25 | Staff | 16 | 2000 |
| Blackwood Staff | Uncommon | 25 | Staff | 13.5 | 2000 |
| Ebonwood Box | Rare | 25 | Craft Box | - | - |
| Celestial Halbard | Rare | 25 | Two Handed | - | - |
| Celestial Ward | Rare | 25 | Shield | - | - |
| Morning star | Rare | 25 | Mace | 18 | 4000 |
| Angelic Carapace | Epic | 25 | Heavy Armor | 117 | 7500 |
Treasure Fiend's Den
Map
General Info
Recommended Level: 25
Recommended party size: 3-4
Recommended Divinity: Earth
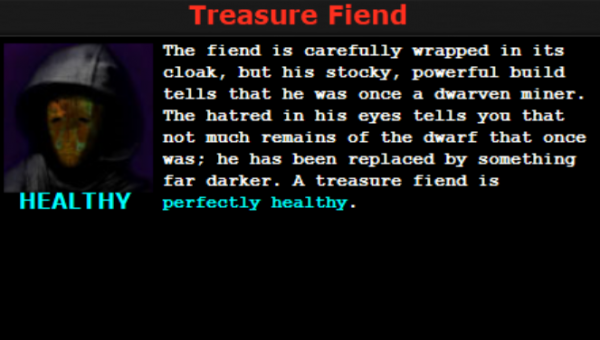
The Treasure fiend is less a dungeon than a boss encounter. The challenge here is that his entire lair is a magic free zone, so you'll need to bring melee damage and potion/ food based healing. Also make sure to have a light source as the layer is dark.
Note: don't rely on the Paladins Sight spell, as you will not be able to cast it once in the lair.
Location
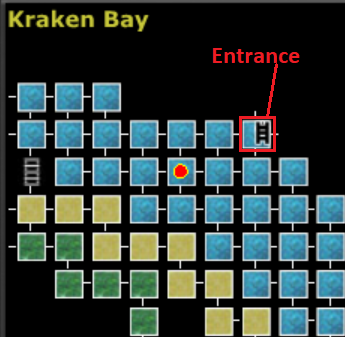
The Treasure Fiend's layer is located deep on the 4th floor of the Dwarven mines, in between Drevlar and the mountain summit. This level, along with the Fiends lair are dark. Make sure to have a race that has dark vision or bring a light source.
Mechanics
- Treasure fiend's lair is a 3x3 grid.
- The whole area is a no cast zone
- The center square does considerable damage overtime, so spend as little time here as possible.
- in the other squares, different amounts of King Scorpions will spawn.
- Several of the squares are KTP (kill to progress) making traversing the lair somewhat difficult.
- The Fiend himself will move from room to room, forcing you to follow him and clean up the scorpions he leaves behind.
- The Treasure Fiend behaves like a Slayer, hiding and backstabbing players for north of 700 damage.
- The fact the only way to heal is via potion makes this burst based damage very dangerous, as a single player that gets targeted will likely not be able to heal up with potions fully before another backstab comes in.
- Nuke him down and kill the mobs as they spawn.
Bosses
Tips
- You can use a Brigand or Slayer to lure King Scorpions into corner square that are not KTP, and then autosneak out, leaving the KTP squares empty. This will allow you to move around quicker.
- If you are a Guardian, consider not protecting anyone. Since there is no spell based healing, its better to disperse the damage over multiple party members.
- Stalkers are particularly valuable here, as their pets can act as a non-magical tank.
- Remember, it's dark in here!
Drop Table
| Name | RARITY | LVL | Type | AD/Armor | Sell |
|---|---|---|---|---|---|
| Fiend's Shiv | Rare | 25 | Dagger | 18 | 4000 |
| Fiend's gauntlets | Rare | 25 | Gloves | 9 | 4000 |
Captain Butcher
Map
General Info
Recommended Level: 25
Recommended party size: 3-4
Recommended Divinity: Lightning
- Video walkthrough here
- Captain Butcher is a fairly difficult, mechanics heavy instance.
- A dedicated healer, physical DPS, and an Enchanter are recommended to deal with the numerous damage traps.
- The basement floors where Amelia and Farmis are located are dark, so be sure to bring a light source.
Location
Mechanics
This instance is very mechanic heavy
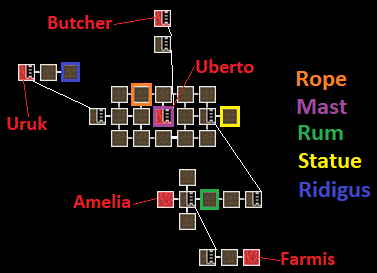
- When you enter you need to "/look floors" to find two passwords.
- You then need to "/pull rope" on the tile to the east of the north west corner.
- Pulling the rope then allows you to go down on the middle tile on the eastern most wall of the main floor ship.
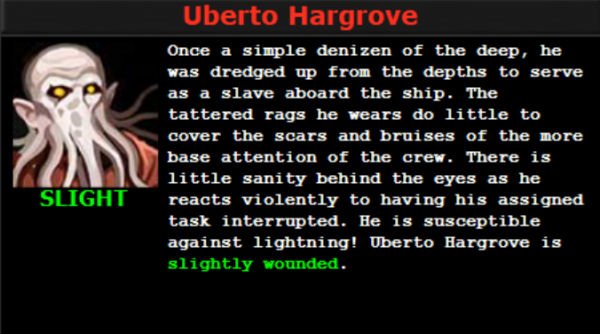
- On the middle tile, there is a boss fight, Uberto Hargrove
- He is immune to magic damage, and can stun.
- He drops some wooden nails that you will need to repair the ship later.
- Once you go down, on the tile two spaces west of the stairs, you will need to "/grab rum". This unlocks a room later on the second floor of the basement.
- Note inside the ship is dark, so you will need a light source.
- Move west until you see the door guard.
- Note: the tile just west of the stairs is a poison trap.
- From here the mechanic is the same as the Ringleaders hideout. you will need to "/d door <password>".
- Depending on what password you give the door guard, he will teleport you north or south. Once in the room you will need to "/push button".
- This must be done quickly, so it is recommended to set macros like the following:
- F1: /d door <password #1>
- F2: /push button
- F3: /d door <password #2>
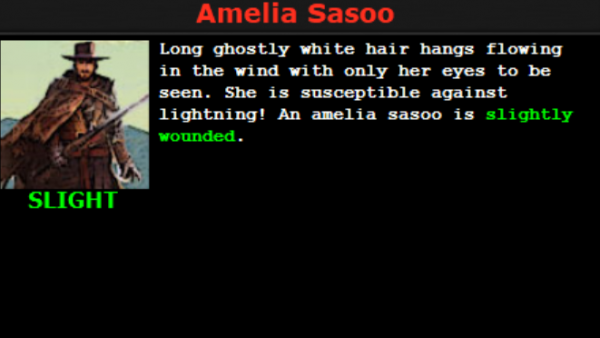
- Completing this button challenge opens up the door westward to fight Amelia Sasoo.
- Nothing too complicated here, just nuke her down.
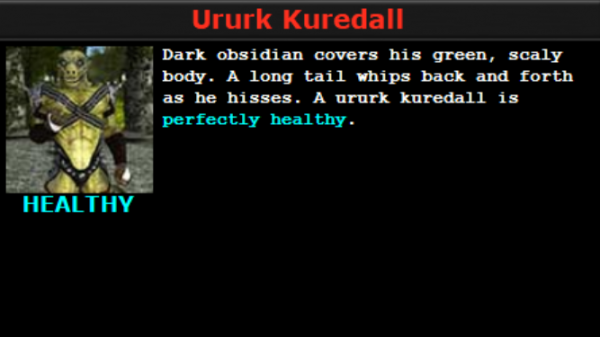
- Once she is dead, you will have access to the west most stairs on the main floor. Head up these stairs and fight Ururk Kuredall.
- He is a Berserker, just nuke him down.
- Once you've defeated him, you now have access to the east most square on the main floor. head there and "/push statute" to open up a room east of where you fought Ururk.
- Give the NPC the spindle, wooden nails, missing handle, and missing rung that you've collected from the noxious pirates and other boss fights.
- This unlocks the ability to go to the second floor basement from the center square on the first floor basement.
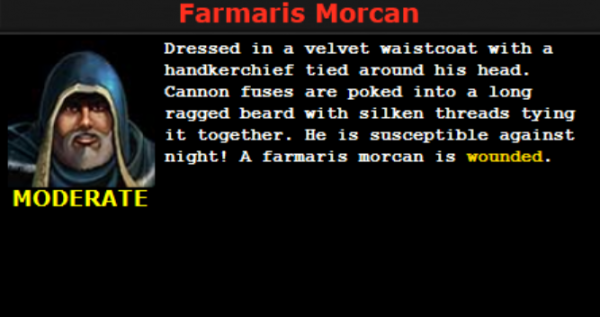
- If you got the rum earlier, you can now go east once you descend the stairs and fight Farmaris Morcan.
- Kill him and head back to the middle square with the mast on the main floor.
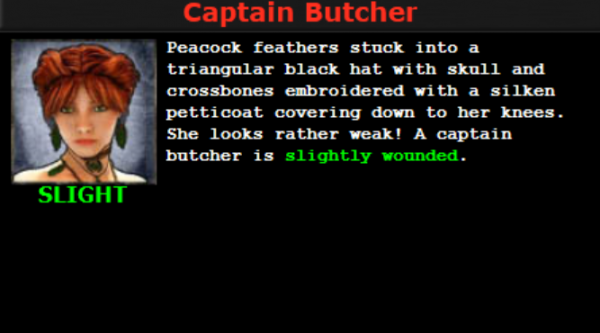
- Hopefully at this point you have collected 20 mast fragments. Give them to the mast to repair it. This allows you to go up the mast and fight Captain Butcher.
- She hits Very hard. it is not recommended you have any Fire Div players with you, or they will likely die.
- Kill her and you have completed the instance!
Bosses
Tips
Drop Table
| Name | RARITY | LVL | Type | AD/Armor | Sell |
|---|---|---|---|---|---|
| Bone rondel | Rare | 25 | Dagger | 18 | 4000 |
| Silk gloves | Rare | 25 | Gloves | 9 | 4000 |
| Silk Mantle | Rare | 25 | Cloth armor | 41 | 6500 |
| Silk Hauberk | Rare | 25 | Medium armor | 79 | 5000 |
| Archaic Hauberk | Epic | 25 | Medium armor | 84 | 7000 |
| Pieces of Eight Amulet | Epic | 25 | Amulet | +0.3 Cha, +3 AC | 3000 |
| Platinum Lockbox | Rare | 25 | Treasure Chest | N/A | 1000 |
NOTE: There are somewhere between 11 and 13 possible drops in this instance so more to be listed.
Necromancer Hideout
Map
General Info
Location
Mechanics
Bosses
Tips
Drop Table
Refinery 2nd Floor
Map
General Info
Location
Mechanics
Bosses
Tips
Drop Table
Flame Salamander
Map
General Info
Location
Mechanics
Bosses
Tips
Drop Table
Mana Caves
Map
General Info
Location
Mechanics
Bosses
Tips
Drop Table
Ruins of Seta
Map
General Info
Location
Mechanics
Bosses
Tips
Drop Table
Lost Temple of Tegus
Map
General Info
Recommended Level: 25
Recommended party size: 1-2
Recommended Divinity: Lightning
The Lost Temple of Tegus is a fairly straight forward and quick instance. It can be run solo by the right class.
Note:
- This instance cannot be ran with more than two people.
- It also requires a Canoe to enter. This can be purchased in Arkanmaw
Location
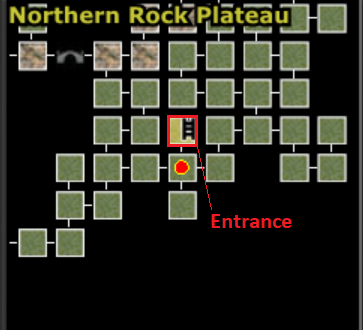
The Lost Temple of Tegus is located just outside the Western Gate of Arkanmaw.
Mechanics
- This instance is quite straight forward.
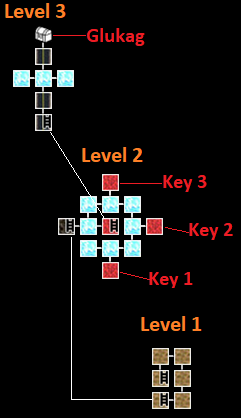
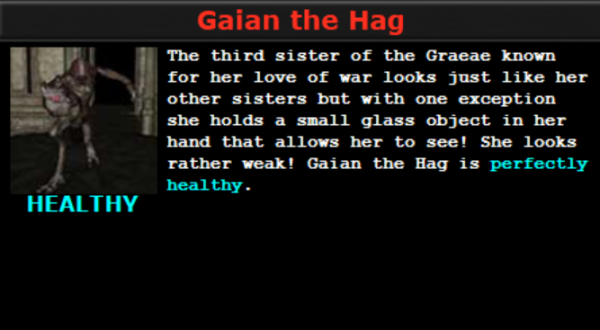
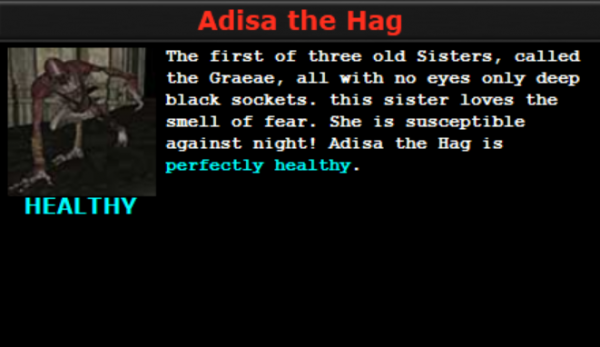
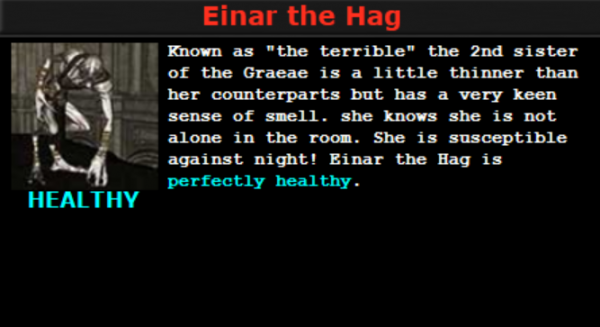
- Start by going to Key room 1 and killing the Hag. She will drop the first key
- Each hag has a special affliction. In this room she will blind you. Use Cleanse or a Paladin's sight spell to cure it.
- You need to have the key from the first room to proceed to the second.
- Once in the second key room kill the hag to receive the second key.
- This Hag's affliction will reduce your strength.
- Once you have the second key, make your way to the third key room to kill the final Hag.
- She will drop an Eye that is needed to enter the treasure room with Glukag.
- This Hag is the most dangerous, as her affliction is a fairly heavy damage over time.
- Heal through it and nuke her down.
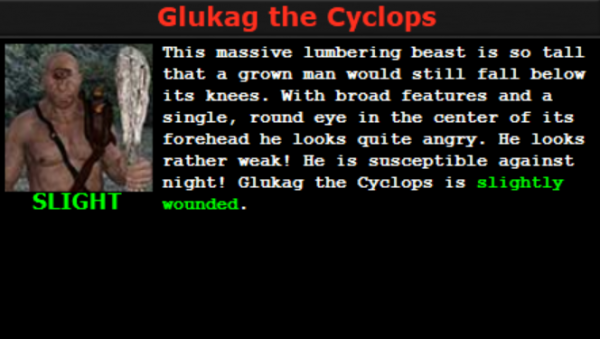
- Once the last Hag is dead, head down to level 3 and fight Glukag the Cyclops.
- He has an area blind, so having a priest or a Paladin is useful here.
- Nothing too special about him otherwise. Nuke him down and you are done!
Bosses
Tips
Drop Table
| Name | RARITY | LVL | Type | AD/Armor | Sell |
|---|---|---|---|---|---|
| Locksley Boots | Rare | 25 | Boots | 9 | 3000 |
